Here is a quick tutorial on how I made my 4th (I believe) table. Still lots of room for improvement, but hopefully this will inspire everybody to stop playing on bare plywood.
 |
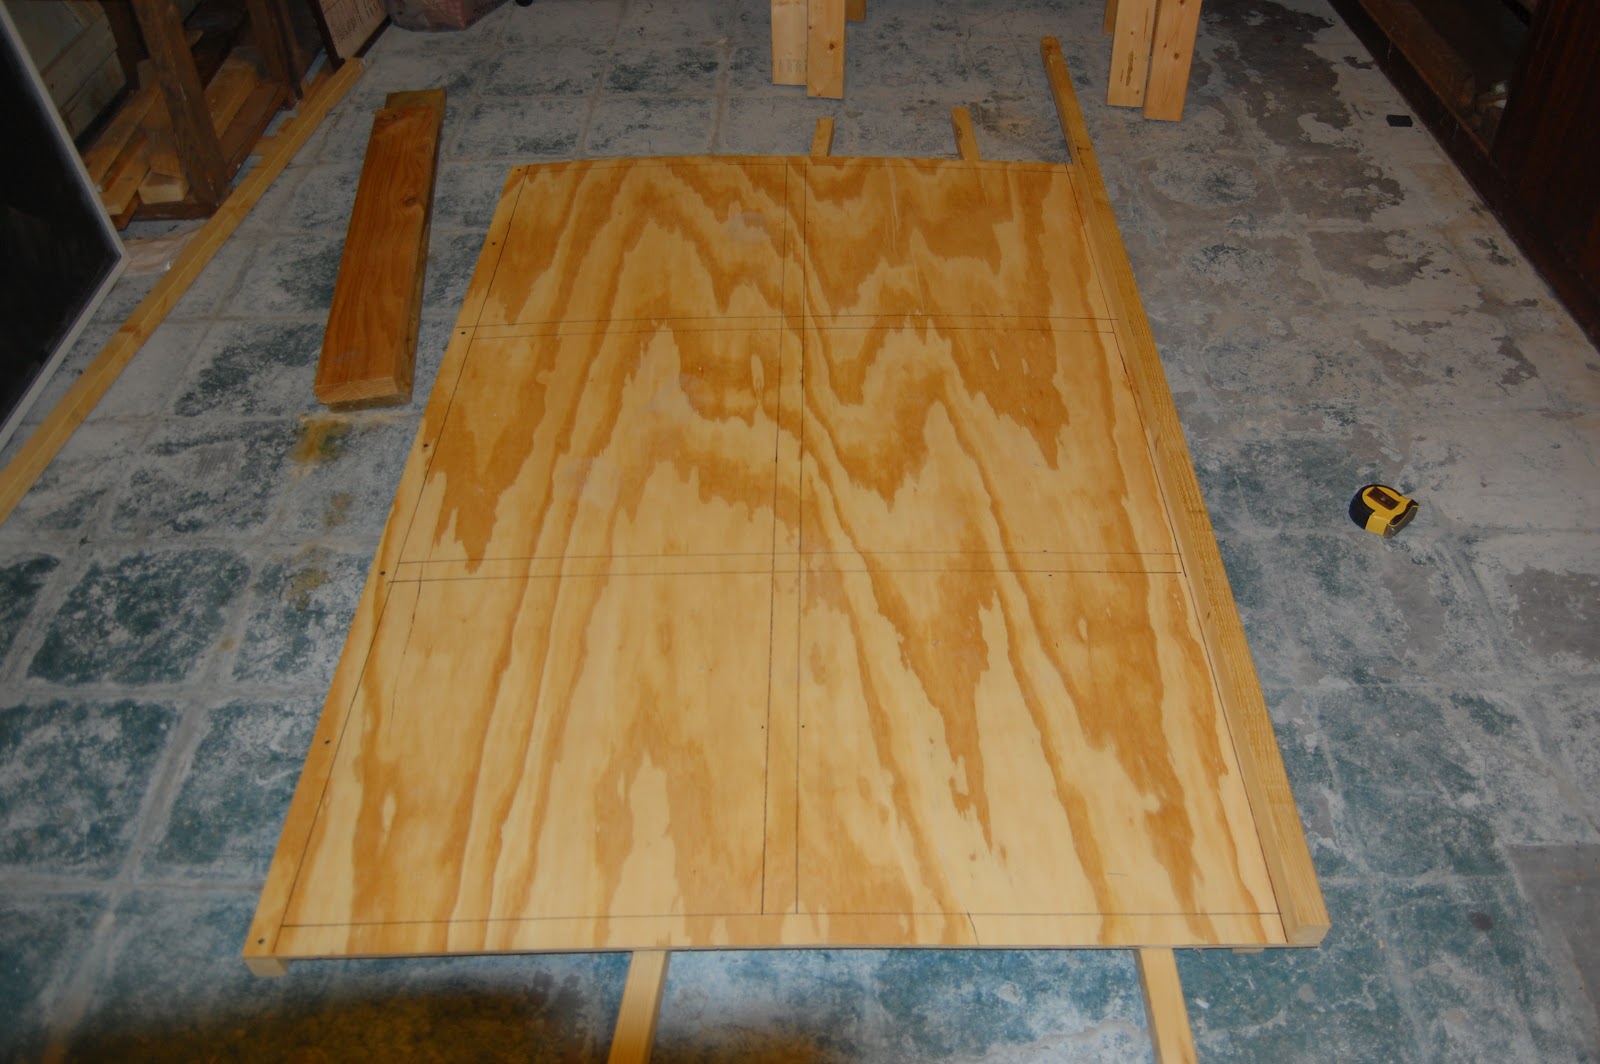
| Step 1: Mark the supports |
The first thing I did was to mark up where I wanted my support studs to sit on the underside of the table. I marked up the top of the table with a sharpie marker. This step is optional, but it was helpful so skip if your carpentry is at Jesus-like levels.
 |
| Step 2: Affixing the first support strips |
Next I placed 2" furring strips under the tabletop and shot 1 screw into each end of the strips, using the marks at the top of the table to guide the screws into the wood in the middle of the table.
 |
| Step 2b: Drywall screws into the ends |
I used 1 1/4" drywall screws as the 2" furring strip is a nominal 2" in height. Don't let the "drywall" description fool you: these things are great for wood!
 |
| Step 3: Affix the short end strips and flip |
Now that we have 3 crossbeams running under our table, we put 2 in between at both of the short edges. Then we flip the table on its side.
 |
| Step 4: Tape the short length strips |
Throw your 4 inner strips in their correct spot under the table. It helps to have a smart ass child point out your failings as a carpenter. Use duct tape to keep the strips in place. Flip the table back down and shoot in your screws using the markings on top as a guide.
 |
| Step 5: Wood filler putty over the screws |
Now that all of your support is affixed to the tabletop board take wood filler putty and fill in the holes at the top of the screws. The screws should be countersunk slightly.
 |
| Step 6: Texturing |
The table is now ready for some texturing. I used some regular (not play sand) sand I picked up at Lowe's (or Home Depot, can't remember - doesn't matter). In hindsight this turned out to be somewhat of a mistake:
You want your particulate matter to be differentiated enough to add visual texture but not so disparate as to create an uneven surface. Most of my modular terrain pieces will not lay flush or flat. Its not too noticeable, but it is somewhat unsettling to the anal retentives among us. I tried a new method here: I mixed my paint and sand directly on the table. So far the adhesion has been good and I have had no problems.
 |
| Step 7: Drybrush 2nd color |
Now we take a lighter color than our base color and drybrush it on. I used a sponge, which got really torn up in the process. I had to take a brush afterwards and brush off all the bits of sponge left behind. The box in the first picture is what I used to remove excess paint from my sponge.
 |
| Flocking test piece |
I made up a hill to test my flocking on, and satisfied with that, I added fine flock.
 |
| Step 8: Glueing on the flock |
I used some watered down wood glue applied with a foam brush and blew/scattered the flock on. Here is the final result being played on.
 |
| Completed table (with side rails attached) |
I realize I neglected to take pictures of Step 9: attaching side rails. Now that I've played on tables with rails and without I will never make another table without them. They're great for keeping dice on the table. Putting them on is pretty selfexplanatory: you cut a nicer grade of wood to the outer table dimensions and then nail or screw them to the furring strip supports.
So, there you go. Hope this helps some people out. If anybody has spotted something I could do better or has thought of an innovative table idea I would love to hear it.
Thanks for reading.


No comments:
Post a Comment